PEDRO LED Mask
Introduction
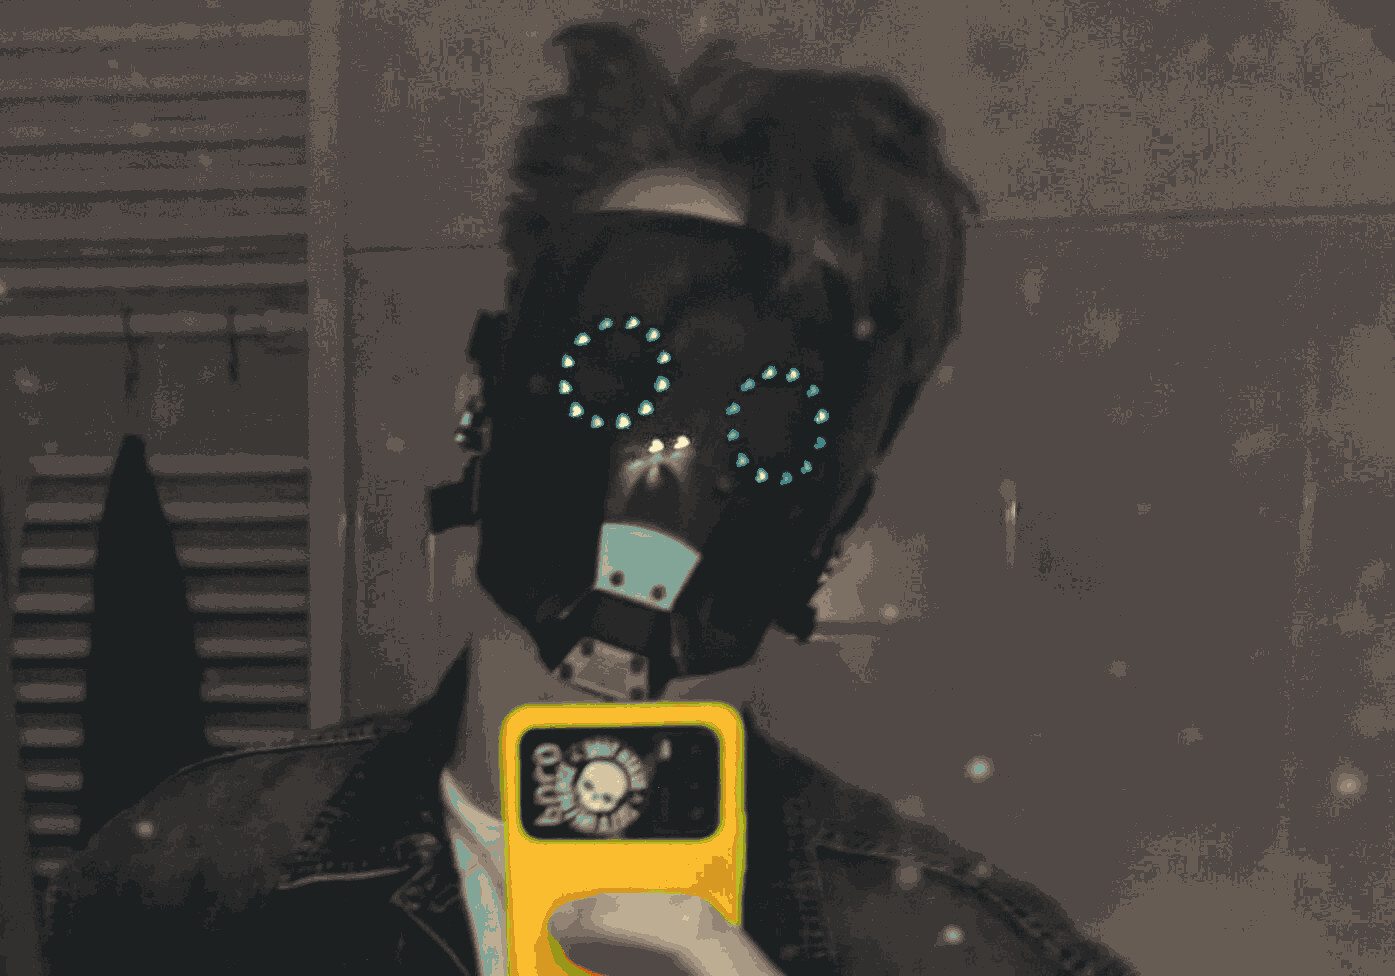
Pedro (Personal Emotional Display of Robust Obstruction) is an Arduino based LED mask. It is inspired by Watch_dogs video game series. The reason why I started developing this project is that I wanted to attend an event with huge amount of attendees (around 60k), but I don't feel particulary good in huge crowds. I wanted to make something that would hide my face and make me feel more comfortable. After some pondering I decided to make a mask with LED lights.
Project overview
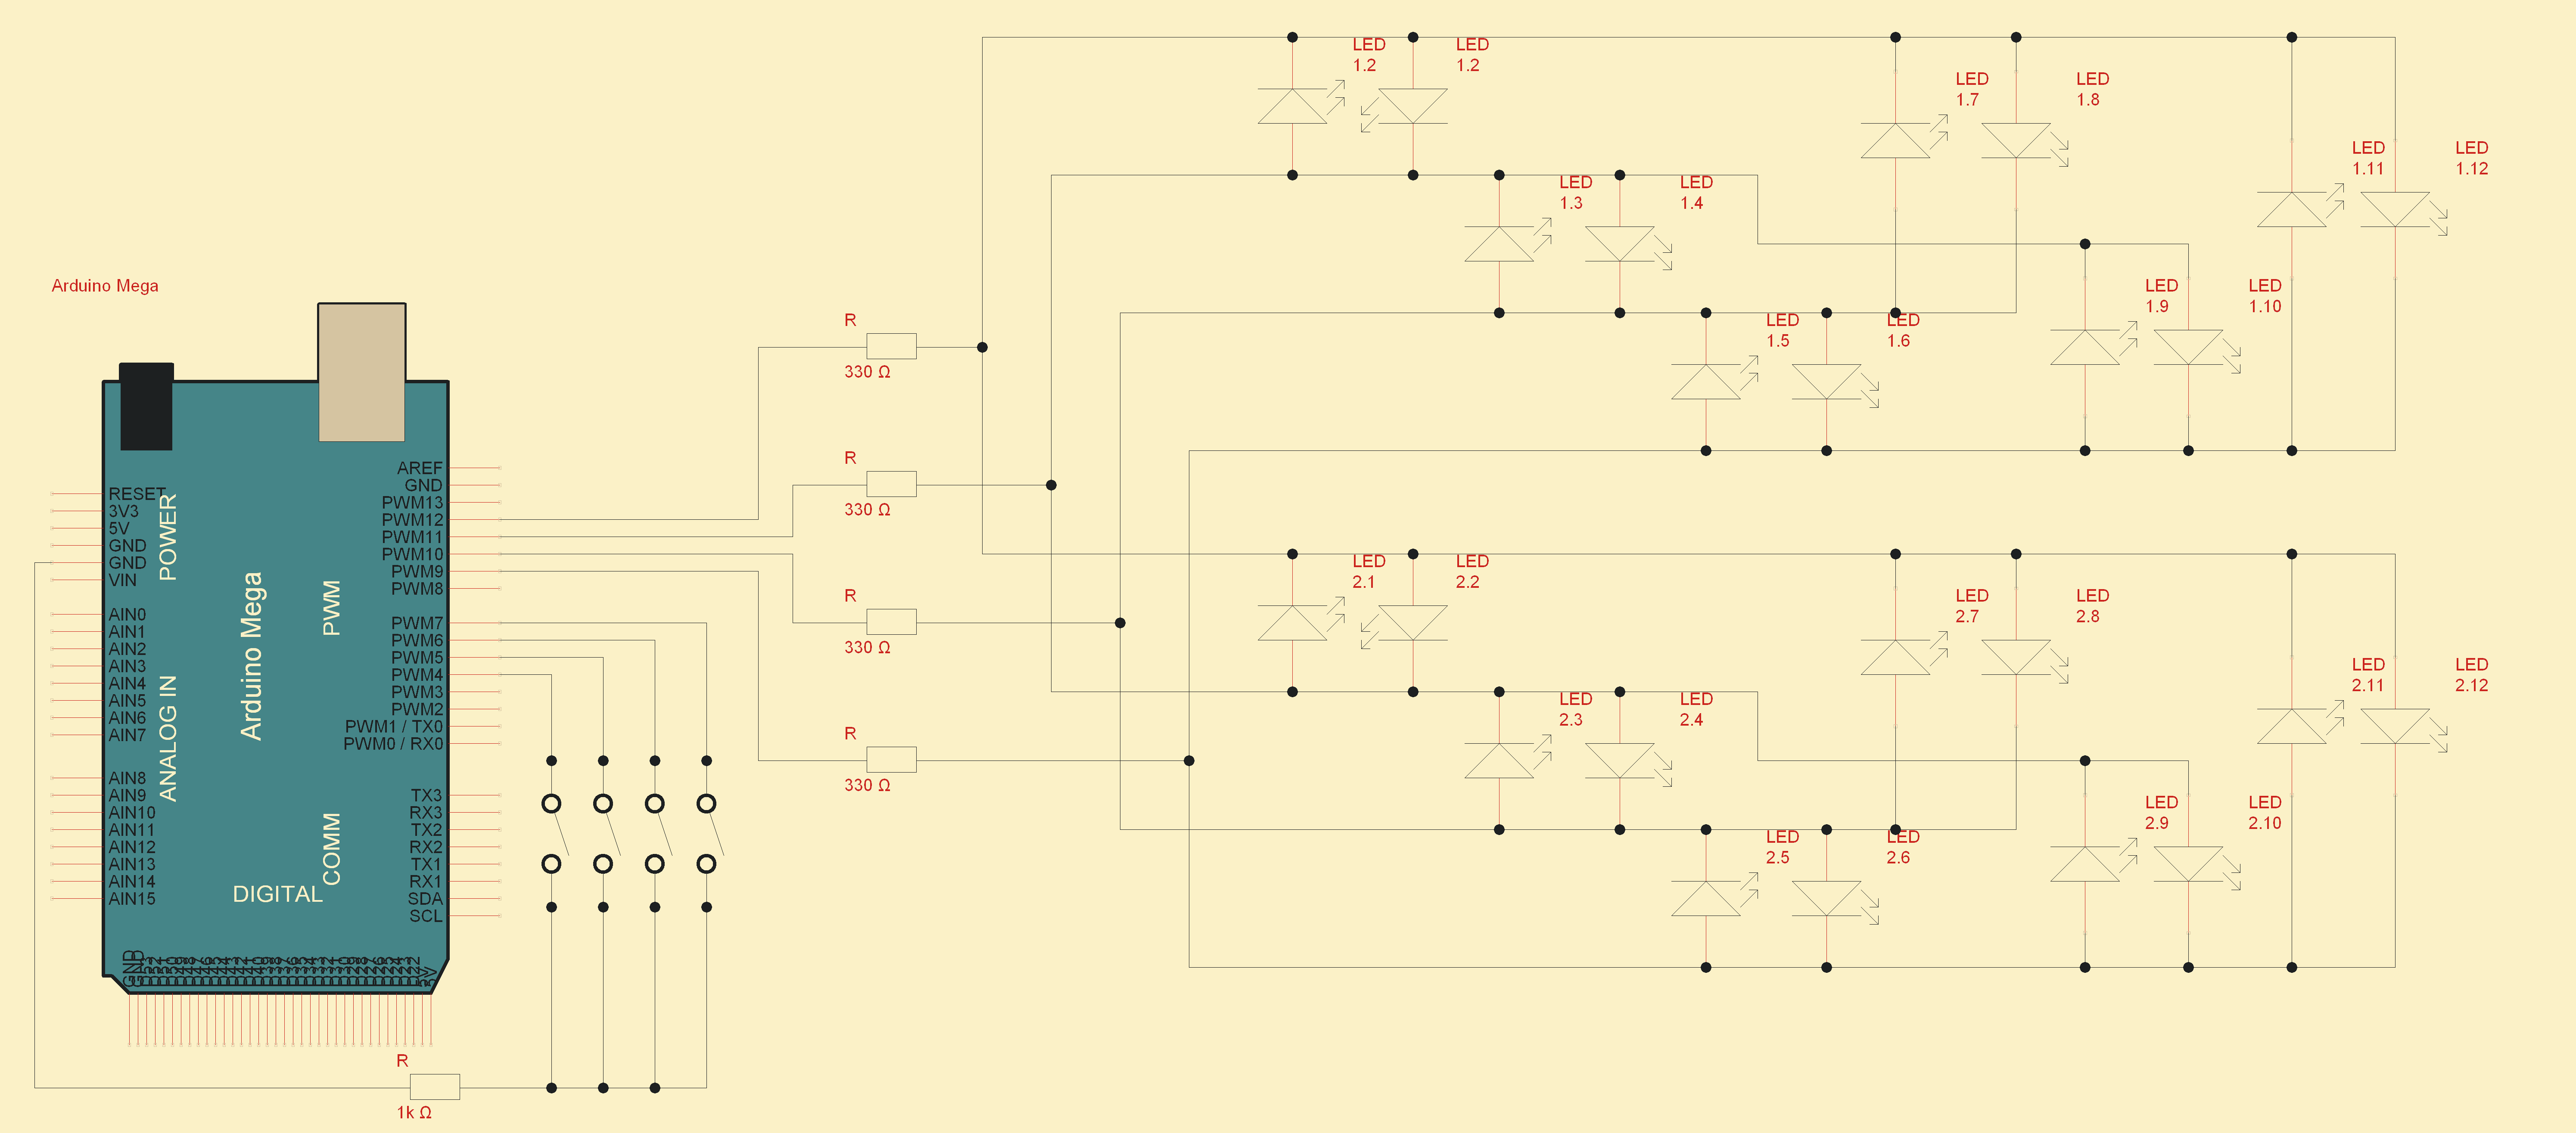
The mask is using a method called Charlieplexing to individually control two sets of 12 LEDs with only 4 pins coming from an Arduino Nano clone. There are 12 LEDs in each circle, in the same positions as numbers on a watch face. The microcontroller is programmed with 4 simple emotinos/animations to make it a bit less creepy for other people to talk to me whenever I wear it. The faces are:
- Full circle
- Spinning
- Anime girl smile (as in (^.^) )
- Closed eyes (as in ( ◡‿◡ *) )
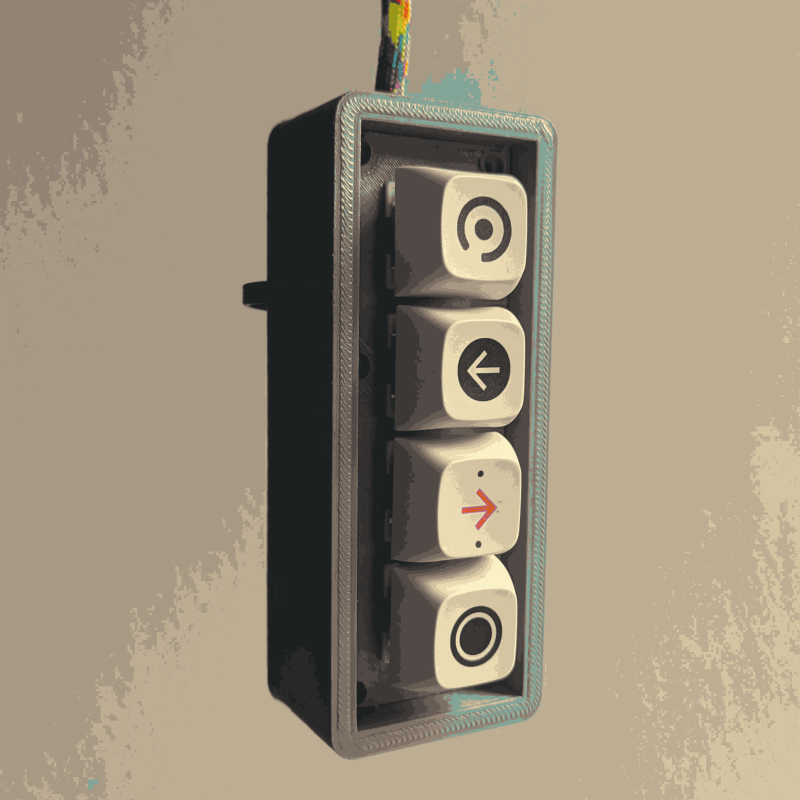
The emotions are controlled by buttons placed on the outside of electronics box mounted on my belt. The box also cointains the microcontroller.
The mask is powered by a powerbank I kept in my pocket. According to ChatGPT, my 20 000 mAh powerbank should be able to power it for over 100 hours, which sure is an overkill. However the thing about Charlieplexing is that at any given time only 1 led in a circuit lights up. In this case each circle is separate, so 1 led per circuit makes it 2 LEDs at the same time, which is still very efficient. It can light up for hours on a standard power bank.
Design and development
At first I aimed at something like the Watch_dogs 2 Wrench's mask, with 2 LED matrices to animate a display of sorts. However I spent 9 months procrastinating and since this is my first real electronics project I had to make something else, because I had no idea how I'd make it, not to mention how to power it. So I had to make something simpler in less than 3 months with full time uni and part time job.
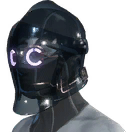
I settled on something similar to polycarbonight from Watch_dogs: Legion, meaning now I had to "just" make two controllable led circles inside some kind of visor. I bought a cheap airsoft mask on Aliexpress as a base.
I basically copied a charlieplexing circuit by eric-chrysalis. What I did different though was splitting the signal lines from Arduino so it poweres both circles at the same time. That leads to lowered LED brightness, so if needed, the mask could be easily modified in a way that each circle circuit would get its own 4 pins from Arduino, making it brighter but also complicating the wiring and lowering the battery life.
Implementation
To build this thing, you will need:
- 24* 3mm LEDs
- 4* 330Ω resistors
- 1* 1kΩ resistor
- 1* Arduino Nano
- 4* mechanical keyboard switches
- 4* mechanical keyboard keycaps
- 1* mask
- 1* 3D printed LED mounting bracket
- 1* 3D printed board and switches housing
- 1m of paracord
- a length of wire
- You may also want to print 2 LED jigs
The 3D printed files can be found at projects Github page
This project would not be possible without 3D printing and the rapid prototyping it allows. The microcontroller is contained in a 3D printed box mounted to a belt of my pants. There are 4 buttons on the top of the box. I used mechanical keyboard switches with some leftover keycaps, since that was what I had at hand and I like the way it looks. Each button is wired to it's own dedicated pin of the microcontroller, the other pin of every button is connected to common groud pin.
There is a wire between the control box and the mask. I used 4*1 meter of some vire, I don't know any specs, sorry. To avoid any potentional interference, I twisted the wires into pairs, then twisted the pairs together. To make it look better, I routed the cables through a paracord sleeve. The wires are connected to Arduino pins specified in the [charlieplexing.ino] file. It is important to know which cable is which, since changing them leads to glitchy animations.
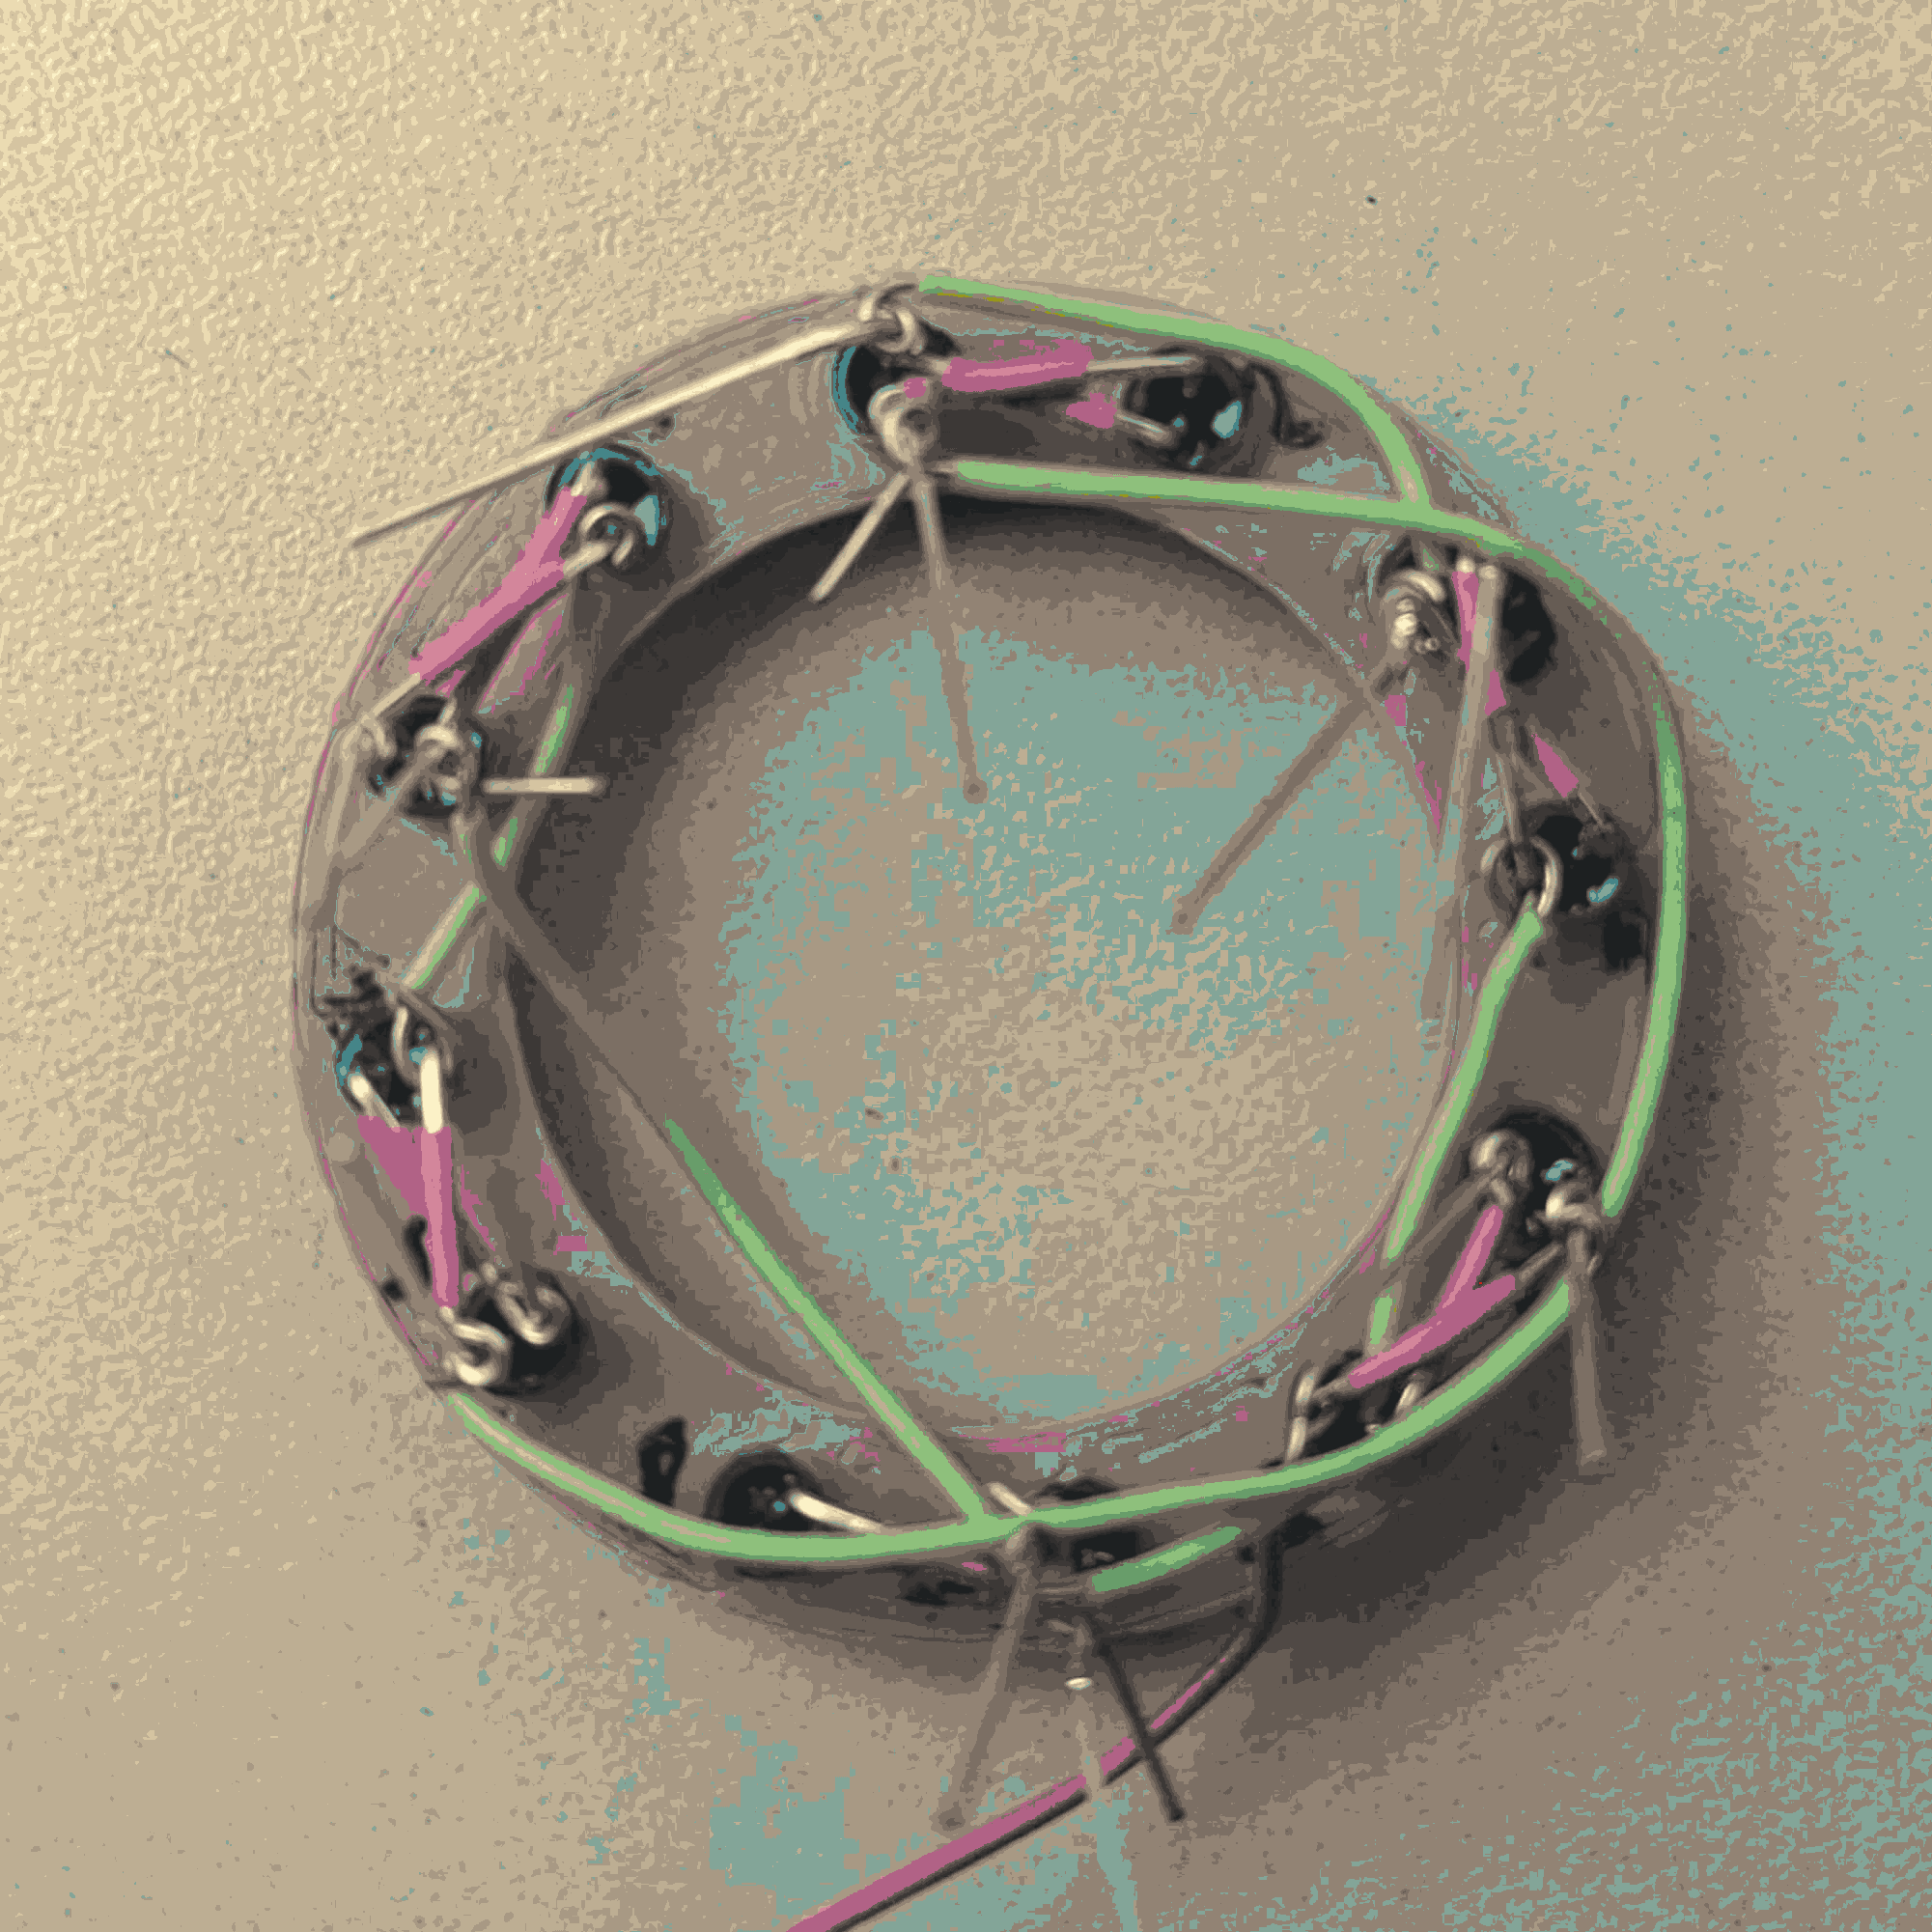
The cable leads to the mask. there are 4 resistors in the mouth area of the mask, each wire having its own resistor. After that the leads split and and connect to the eye circles. However if you're thinking about making your own mask, I'd recommend starting with creating the eye circles first, and only after making sure it works properly starting the work on the rest of the electronics stuff.
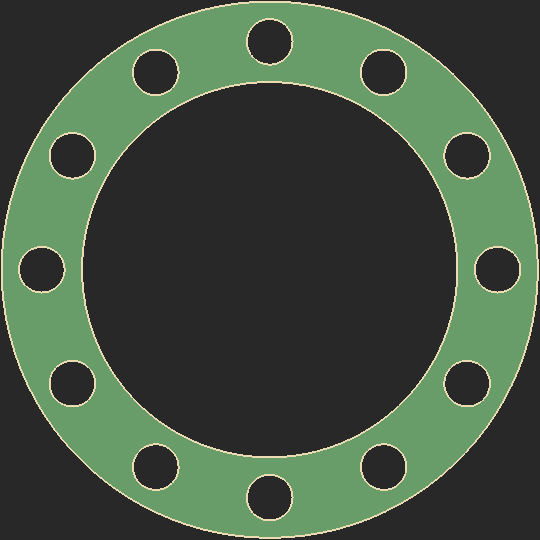
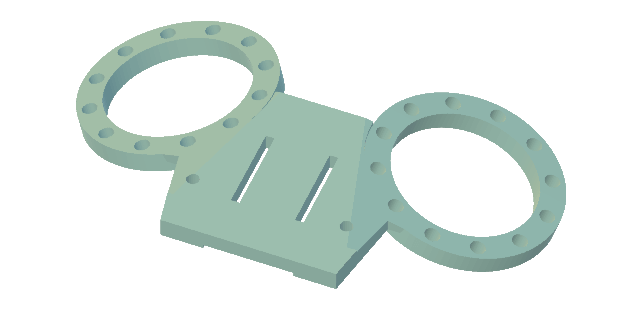
To simplify the wiring process of the circles, I designed and printed two simple LED jigs. Then I used a sharpie to write a number next to each hole, mimicking a watchface. That's to make it easier to identify parts of the circuit and follow numbering on the wiring diagram. The circuit is somewhat challenging, not sure I'd reccomend it to total soldering novice.
Once all the soldering is done, it's time to print the main piece that holds the LEDs and screws into
some existing screwholes in the mask and it's done.
The full assembly guide is on the project's Github page
The whole thing took me several weeks to make, including research, prototyping, and failing to make
the circle circuit several times. But it was a joy to make, because at some point I managed to enter
flow state whenever I worked on it. I knew exactly what to do and how to do it. And it felt great.
Software integration
The firmware is simple to understand and modify. On boot, the Arduino waits for user to choose an
animation. Every animation consists of flashing single LEDs in succession to make it look like there
are multiple LEDs lit up at the same time. After the animation is finished, Arduino checks for
change of animation triggered by pressing another button. If button is not pressed, Arduino runs the
last animation again indefinitely.
Charlieplexing allows for the LEDs to be individually lit up, one by one, by changing the signals on
output pins. For example, High on Pin1 and Low on Pin2 lights up only LED1, Low on Pin1 and High on
Pin2 lights up only LED2 etc.
Results and Achievments
The mask works as it should. Acually I was blown away how well it worked at the event. I got many compliments and some guy even ask for a picture with me. And the main thing - I did feel great wearing it. My anxiety was not showing throughout the whole event, it was great.
Lessons learned
- 20 000 mAh powerbanks are vrey heavy, I could definetelly go with some smaller-capacity, lighter battery
- The mask is surprisingly comfortable to wear on a hot day (around 35˚C)
- I was expecting fogging issues, but outside it was fine. The mask fogged up a little wheile I was inside of a mall or at a subway station
- It may be tempting to wear this mask to a rave, but I took it to a techno and I got very sweaty. The mask survived fine, but I had saltier eyes then that one time I almost drowned in Albania
Future enhancements
There are several things to think about when designing next revision/fixing my current mask.
Zip-tying control unit to belt of my jeans sounds great in idea, but in practice, it is impossible
to remove without taking off your belt, making you look like a weirdo when you want to take off all
of the gear.
I'll have to come up with better mounting mechanism or make the wires detachable in the next
revision.
While mechanical keyboard keys look great and are satysfing to press, my denim vest was heavy enough
to press random buttons. This could be fixed by using different kind of buttons, changing the design
of the box or simply changing the springs of the switches for heavier ones (I used 67g clicky keys
btw.)
Speaking of the box, I damaged the microUSB port on the Nano, resulting in random power offs. There
are two solutions. Short term solution is replacing the damaged Arduino (I am not good enough at
soldering to replace the connector) and give it a generous bath in hot glue to stop it from stressing.
The better solution is to either redesign the box in a way that supports the cable, or use
different board with stronger connector.
Gallery

Closing thoughts
I am very happy with how this project turned out. I hope to start something that will put me in the
flow state again ASAP. Also I should start working on LED matrix display soon, otherwise I'll never
make it in time for next year's event.
Massive thank you to Jana and Petr for my arts and crafts support, and all of my friends who
attended this year's event with me, love y'all <3